

If you’re searching for a Home network setup tutorial, you probably want more than just a basic checklist, you want clear, practical guidance that actually works. Setting up a reliable home network feels overwhelming, especially with so many routers, modems, mesh systems, and security options flooding the market. One wrong move and you’re stuck with slow speeds, dead zones, or devices that aren’t protected.
You’ll get practical advice on picking the right gear, tweaking performance, keeping your connection secure. We break down the technical stuff without jargon. And we give you concrete steps you can actually use right now, not someday.
We built this guidance from current networking standards, real-world testing of actual consumer gear, and what we’ve learned works in the field. Industry best practices shaped it. Every recommendation you’ll find here comes from actual connectivity and cybersecurity experience, not theory. When you’re done, your network will be stable, secure, and fast enough for streaming, gaming, remote work, and smart home devices without breaking a sweat. And yeah, it’ll just work.
I still remember the night my Wi-Fi cut out during a crucial video call, frozen screen, awkward silence, pure frustration. Slow speeds. Buffering movies. Random dead zones in the bedroom, the kitchen, basically everywhere. They’re not rare; they’re everyday headaches in most homes. So let’s fix that. This tutorial walks you step by step through choosing the right router (your network’s traffic controller), placing it where it actually matters, and locking down the security settings that actually protect you. I’ll translate the jargon into plain English as we go. By the end, you’ll have a fast, stable, and secure connection, ready for streaming, gaming, and uninterrupted work-from-home days.
Step 1: choosing the right hardware for your needs
First things first: clear up a common confusion. A Modem connects your home to your Internet Service Provider (ISP), it’s the bridge between your house and the wider internet. A Router creates your local network, broadcasting Wi‑Fi so your phone, laptop, and smart TV can get online. The modem’s your front door. The router’s the host letting everyone in.
Next, think about whether to rent ISP-provided gear or buy your own. ISP gateways combine modem and router in one box, which sounds great in theory. Pre-configured, convenient, done. The problem? They’re usually hobbled by weak security, limited range, and almost no room for performance tweaking. If you buy your own router, you’ll get faster speeds, real parental controls, and actual firmware updates that don’t sit in limbo for months. Plus, you’ll stop hemorrhaging money on monthly rental fees that quietly add up over years.
When comparing devices, pay attention to Wi‑Fi standards:
- Wi‑Fi 6 (802.11ax): Handles more devices efficiently and improves speed.
- Wi‑Fi 6E: Adds access to the 6 GHz band for less congestion.
- Wi‑Fi 7: Offers even higher throughput and lower latency for future-proofing.
Go with a mesh system if you’ve got multiple floors, thick walls, or more than 2,500 square feet to cover. The nodes talk to each other and eliminate dead zones, so you can move from room to room without losing signal. Works. That’s the difference between mesh and traditional routers, you get actual coverage instead of dead spots in your hallway or basement.
Step 2: strategic placement for maximum coverage
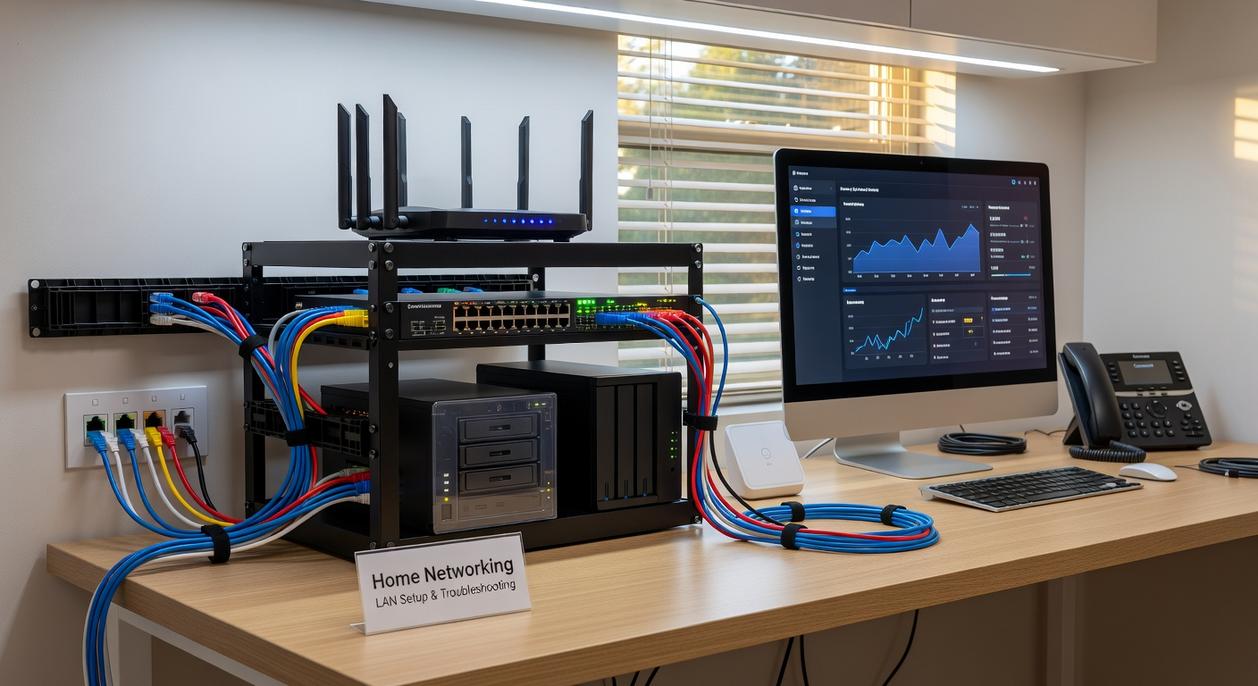
Now that your equipment is ready, placement makes all the difference. Put your router in a central, open, elevated spot. Wi-Fi signals spread outward, and positioning it in the middle of your home helps coverage reach every corner evenly, far better than burying it in a closet or corner office. A high shelf in a living room or hallway works best. Yes, hiding it behind the TV stand is tempting. Don’t. Resist the urge to tuck it away anywhere dark or enclosed, and you’ll notice the difference immediately.
Many people accidentally tank their signal without realizing it. Don’t tuck your router inside a cabinet, on the floor, or near thick concrete walls because they’re signal killers. Metal objects, aquariums, microwave ovens, basically anything that absorbs or disrupts radio waves will degrade your connection. (Yes, that includes the microwave. Really.) If your internet dies every time someone makes popcorn, that’s not a coincidence, it’s physics.
If your router has adjustable antennas, try positioning one vertically and one horizontally, devices like laptops and phones have antennas oriented differently, so this setup improves multi-device reception. Small adjustments matter. Just a few inches can noticeably boost performance. It’s one of those easy wins nobody thinks about until their WiFi suddenly gets better.
Finally, connect the hardware:
- Connect the coaxial cable to the modem.
- Connect the modem to the router’s WAN port with an Ethernet cable.
- Connect power to both devices.
For more step-by-step guidance, see our beginners guide to installing linux on your pc alongside this home network setup tutorial.
Step 3: essential settings for security and performance
Once your router is physically connected, it’s time to fine-tune the settings that protect your data and improve speed.
1. Access your router’s admin panel
Most routers have their Default IP address printed on a sticker underneath. Something like 192.168.1.1 or 192.168.0.1. Type it into your browser’s address bar and log in. The default admin credentials are on that same label, though you should change them once you’re inside the system. Don’t skip this step if you want to keep your network secure.
2. Change the default admin login (critical)
Your router’s Administrator account controls every network setting. Leave the default username and password unchanged, and anyone connected to your network could access it, bots absolutely scan for this stuff. You need to create a strong, unique password right now. It’s that simple, and it blocks most unauthorized access attempts.
3. Configure your wi-fi network properly
Set a custom SSID, that’s your Wi-Fi network name. Don’t use personal details like your address. Next, enable WPA3 encryption, the latest Wi-Fi security standard. Can’t find it? WPA2-AES works fine too. Both scramble your data so outsiders can’t decode it. Only your devices can read what’s being sent.
4. Enable a guest network
A guest network creates a separate access point for visitors, keeping your main devices, laptops, smart TVs, security cameras, isolated and protected from potential snooping. Turn it off when you’re not expecting anyone. That’s it.
5. Check for firmware updates
Firmware is basically the software your router runs on. Security patches roll out regularly, and they’re worth installing because they plug holes and speed things up. Look in your admin panel for available updates and grab the latest one.
For a complete walkthrough, follow this home network setup tutorial to ensure every step is optimized for both speed and security.
Step 4: testing your speed and solving common problems
First thing’s first, run a speed test on Speedtest.net or Fast.com. Two numbers. Download speed tells you how fast data arrives (Netflix, YouTube, all that), and Upload speed shows what leaves your connection when you’re posting to Instagram or jumping on Zoom calls. If those numbers aren’t even close to what your plan promised, you’ve got a problem. That’s it.
Now, before you panic-Google like it’s a tech horror movie, try the universal fix.
- Unplug both modem and router.
- Wait 60 seconds (yes, the full minute).
- Plug in the modem and wait until it fully reconnects.
- Plug in the router.
Next, check for Wi-Fi dead zones. Grab a Wi-Fi analyzer app and walk around your space to map out signal strength. You’ll spot problem areas immediately. If bars are tanking in certain rooms, a mesh system might solve it. Still struggling? Revisit your home network setup tutorial for deeper fixes.
Your network isn’t running on factory defaults anymore. You’ve tweaked it for speed, coverage, and protection, and that changes everything. Buffering movies? Dropped Zoom calls? Random lag spikes? Gone. You didn’t just follow some basic home network setup tutorial, you actually optimized the thing. Most people never get here.
Now you get:
- Uninterrupted 4K streaming
- Lag-free online gaming
- Stronger Wi-Fi security with updated passwords and encryption
Pro tip: Reboot your router monthly and review connected devices to keep performance sharp.
This upgraded network is your foundation, ready for smart devices, future upgrades, and whatever tech comes next. You are fully in control now.
Take control of your home network today
You came here looking for a clear, step-by-step home network setup tutorial. Now you’ve got the knowledge to build something faster, more secure, and actually reliable. No more buffering mid-call. No more dead zones in the bedroom. No more wondering why your Wi‑Fi keeps dropping.
A slow or unstable network isn’t just frustrating , it disrupts your work, your entertainment, and your daily routine. The good news? You now understand exactly what causes those issues and how to fix them.
Optimize your router placement, secure your network, and configure your settings for peak performance, but don’t wait until tomorrow to get started. The positioning of your router matters far more than most people realize, and a few tweaks to your network security and performance settings can make a real difference in how your connection performs day to day. Get on it.
Want deeper guidance? Expert comparisons? Proven step-by-step tutorials that thousands actually use? Our in-depth guides are here to cut through the noise. We don’t just explain complex tech. We turn it into practical solutions you can implement right now, in your workflow, without the usual learning curve.
Don’t settle for weak signals and constant interruptions. Upgrade your network setup today and experience the speed and stability you’ve been missing.
 There is a specific skill involved in explaining something clearly — one that is completely separate from actually knowing the subject. Zayric Vornhaven has both. They has spent years working with software development insights in a hands-on capacity, and an equal amount of time figuring out how to translate that experience into writing that people with different backgrounds can actually absorb and use.
Zayric tends to approach complex subjects — Software Development Insights, Tech Tutorials and How-To Guides, Emerging Tech Trends being good examples — by starting with what the reader already knows, then building outward from there rather than dropping them in the deep end. It sounds like a small thing. In practice it makes a significant difference in whether someone finishes the article or abandons it halfway through. They is also good at knowing when to stop — a surprisingly underrated skill. Some writers bury useful information under so many caveats and qualifications that the point disappears. Zayric knows where the point is and gets there without too many detours.
The practical effect of all this is that people who read Zayric's work tend to come away actually capable of doing something with it. Not just vaguely informed — actually capable. For a writer working in software development insights, that is probably the best possible outcome, and it's the standard Zayric holds they's own work to.
There is a specific skill involved in explaining something clearly — one that is completely separate from actually knowing the subject. Zayric Vornhaven has both. They has spent years working with software development insights in a hands-on capacity, and an equal amount of time figuring out how to translate that experience into writing that people with different backgrounds can actually absorb and use.
Zayric tends to approach complex subjects — Software Development Insights, Tech Tutorials and How-To Guides, Emerging Tech Trends being good examples — by starting with what the reader already knows, then building outward from there rather than dropping them in the deep end. It sounds like a small thing. In practice it makes a significant difference in whether someone finishes the article or abandons it halfway through. They is also good at knowing when to stop — a surprisingly underrated skill. Some writers bury useful information under so many caveats and qualifications that the point disappears. Zayric knows where the point is and gets there without too many detours.
The practical effect of all this is that people who read Zayric's work tend to come away actually capable of doing something with it. Not just vaguely informed — actually capable. For a writer working in software development insights, that is probably the best possible outcome, and it's the standard Zayric holds they's own work to.